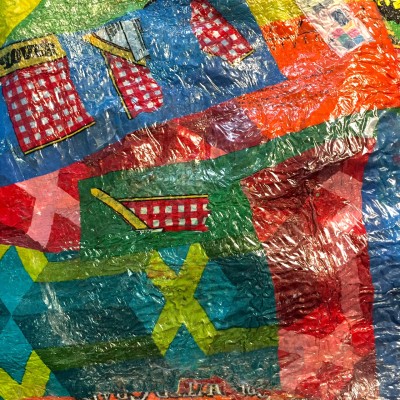
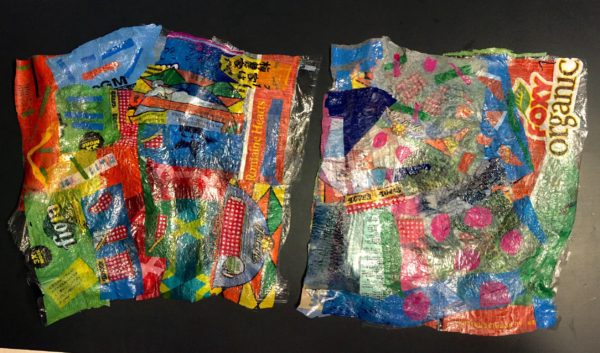
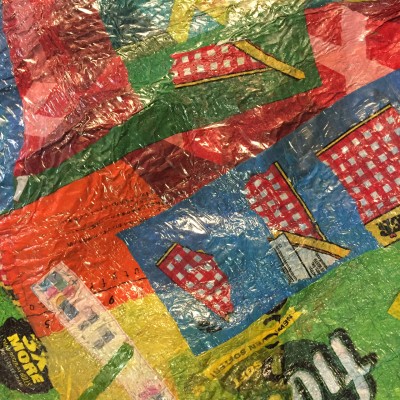
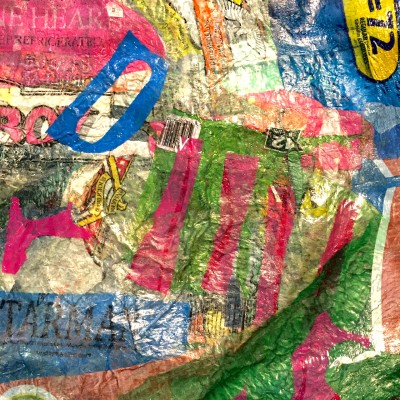
Here are my latest experiments with plastic bag fusing, and I love them! Although I’ve been cutting them into handmade journal covers, there are a zillion other things that could be done with this “fabric”.
Because I haven’t played with this technique for quite awhile, I rediscovered some important lessons and picked up a few new ones as I worked. Here’s what I learned…
1. Always use parchment paper, NOT waxed paper, as a protective barrier above and below the plastic pieces being fused. The parchment paper “sandwich” protects the iron and ironing board AND doesn’t stick to the plastic itself, unlike waxed paper which can stick to the plastic if the iron is too hot.
2. The iron should be hot enough to fuse, but not melt the plastic too much. This takes some experimenting to get the temperature just right. Melting plastic creates fumes, so less heat is better. In any case, it’s wise to do this in an area with good ventilation.
3. Plastic bags come in a variety of thicknesses. To create a strong, uniform piece of fabric, it’s important to fuse layers of plastic until the desired thickness is achieved. Save the most interesting patterned pieces for the top layer. Use the boring stuff as filler to create strength.
4. Thin produce bags are perfect for adhering troublesome areas that just won’t stick together properly. This happened sometimes when I tried to overlap two thick bags and the edges wouldn’t stay down. A piece of thin, clear produce bag did the trick without changing the overall look of the piece.
I’m now in the process of sifting and sorting my collection of blank, decorative and vintage papers, ephemera, paint swatches, paper doilies, envelopes, and whatever else catches my attention to create the journal pages to be housed between my fused plastic covers. Stay tuned for the next installment!


